

Hey there! As a supplier of Outdoor Wireless Bridges, I've seen firsthand how these nifty devices can transform existing networks. In this blog, I'll walk you through the process of integrating outdoor wireless bridges with your current setup, sharing some tips and tricks along the way.

Understanding Outdoor Wireless Bridges
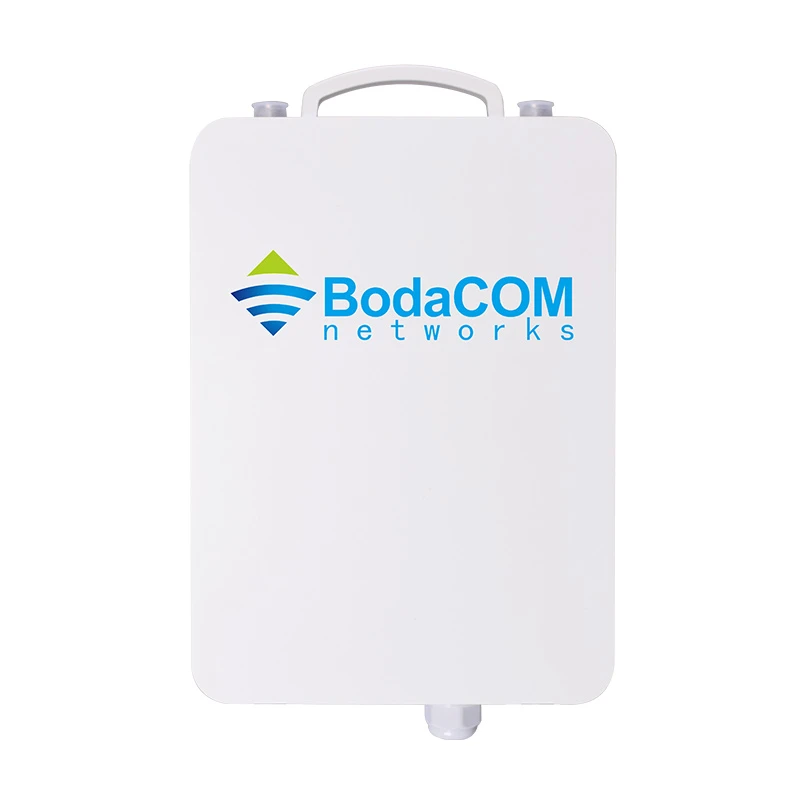
Before we dive into the integration process, let's quickly go over what outdoor wireless bridges are. These devices are designed to connect two or more networks wirelessly over long distances, making them ideal for outdoor applications such as connecting buildings, extending Wi-Fi coverage, or creating a wireless backhaul for a network.
There are different types of outdoor wireless bridges available, each with its own features and capabilities. For example, the Outdoor Wifi Bridge Extender is great for extending the range of an existing Wi-Fi network, while the Outdoor Wireless Bridge Point To Point is designed for creating a direct connection between two locations. And if you're looking for a more versatile solution, the Outdoor Wireless Network Bridge can be used in a variety of applications.
Assessing Your Network
The first step in integrating outdoor wireless bridges with your existing network is to assess your current setup. This includes understanding your network topology, the types of devices you're using, and the bandwidth requirements of your users.
Start by identifying the locations where you want to install the outdoor wireless bridges. Consider factors such as line of sight, distance, and interference. You'll also need to determine the number of bridges you'll need based on the size and complexity of your network.
Next, check the compatibility of your existing network equipment with the outdoor wireless bridges. Make sure that your routers, switches, and access points support the wireless standards used by the bridges. You may also need to configure your network settings to allow for the integration of the bridges.
Planning the Installation
Once you've assessed your network, it's time to plan the installation of the outdoor wireless bridges. This involves choosing the right location for each bridge, mounting the bridges securely, and connecting them to your network.
When choosing a location for the bridges, look for a spot that provides a clear line of sight between the bridges and the devices they'll be connecting to. Avoid areas with high levels of interference, such as near microwave ovens or other wireless devices. You'll also want to make sure that the bridges are installed in a protected area to prevent damage from the elements.
Mounting the bridges securely is crucial to ensure their stability and performance. Use the appropriate mounting hardware and follow the manufacturer's instructions carefully. Make sure that the bridges are level and properly aligned to ensure a strong signal.
Connecting the bridges to your network is the final step in the installation process. You'll need to use Ethernet cables to connect the bridges to your routers, switches, or access points. Make sure that the cables are properly terminated and that the connections are secure.
Configuring the Bridges
After the bridges are installed, it's time to configure them to work with your existing network. This involves setting up the wireless settings, such as the SSID, password, and channel, as well as configuring the network settings, such as the IP address and subnet mask.
Most outdoor wireless bridges come with a web-based interface that allows you to configure the settings easily. Simply connect to the bridge's IP address using a web browser and follow the on-screen instructions. You'll need to enter the SSID and password of your existing network, as well as the IP address and subnet mask of the bridge.
Once the bridges are configured, you'll need to test the connection to make sure that it's working properly. You can do this by connecting a device to the bridge and trying to access the internet or other network resources. If you're having trouble connecting, double-check the settings and make sure that the bridges are properly installed and configured.
Troubleshooting Common Issues
Even with careful planning and installation, you may encounter some issues when integrating outdoor wireless bridges with your existing network. Here are some common issues and how to troubleshoot them:
- Weak Signal: If you're experiencing a weak signal, check the location of the bridges and make sure that they have a clear line of sight. You may also need to adjust the antenna settings or move the bridges to a different location.
- Interference: Interference from other wireless devices can cause problems with the connection. Try changing the channel on the bridges to avoid interference. You may also need to move the bridges away from other wireless devices.
- Configuration Issues: If you're having trouble configuring the bridges, double-check the settings and make sure that you're entering the correct information. You may also need to refer to the manufacturer's documentation or contact their support team for assistance.
Conclusion
Integrating outdoor wireless bridges with your existing network can be a great way to extend your network coverage, improve performance, and connect remote locations. By following the steps outlined in this blog, you can ensure a successful integration and enjoy the benefits of a wireless network.
If you're interested in purchasing outdoor wireless bridges for your network, feel free to contact us to discuss your options. We offer a wide range of high-quality outdoor wireless bridges that are designed to meet the needs of different applications. Our team of experts can help you choose the right bridges for your network and provide you with the support and guidance you need to ensure a successful installation.
References
- Manufacturer's documentation for outdoor wireless bridges
- Industry standards and best practices for wireless network integration